
Quick Guide to the 3 different types of Interior Design presentations 2D, 2.5D and 3D.
The difference between 2D, 2.5-D and 3-D presentation can be hard to navigate when you’re just starting out which is why I created this guide.
Once you understand it, you can begin to offer multiple tiers of products and develop speedy workflows within your business. The following guide can be used not only to explain the difference between presentation styles but also to give you examples of when, and when not, to use the different strategies.
To begin with, let’s talk about 2D Presentation.
– What is considered a 2D presentation?
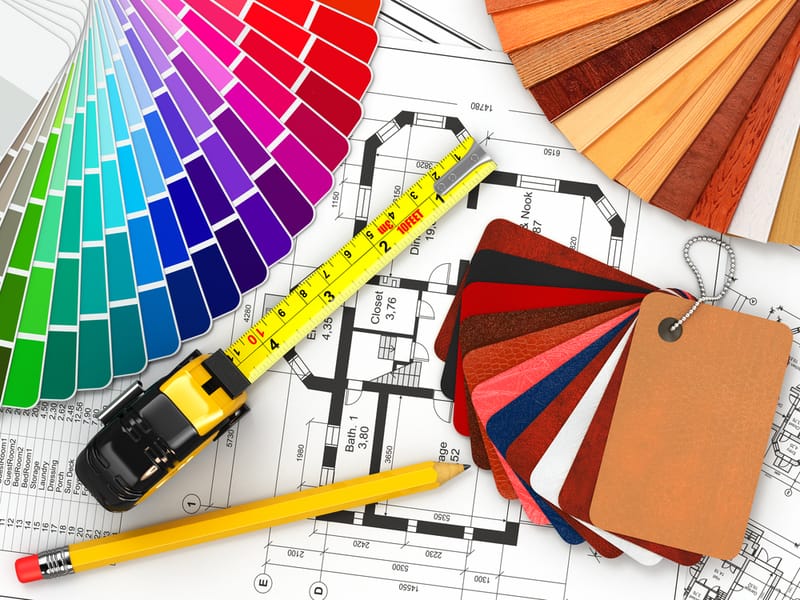
2D is generally a flat a flattened image which has no depth or lighting and is generally drawn or painted onto a flat surface.
In the interior design industry, floor plans, elevations, swatches, textiles are excellent examples of 2D presentation, as well as, any type of text-based presentations.
– When to use 2D presentations?
In our business, we use 2D when we’re either doing something fast or when the 2d format is what’s expected by our clients as a delivery. We use it if depth, feeling, and emotion isn’t really part of the conversation and we are conveying factual information around measurements, color, materials, swatches, and textiles. When we’re trying to quickly establish an inexpensive idea that needs to be straightforward and accurate. The software we use to create 2d presentations are Hand rendering (ink and paper), Word (lists and schedules), Photoshop (color swatches), Revit (digital drawings),
What about 2.5D presentation?
– What is a 2.5D presentation?
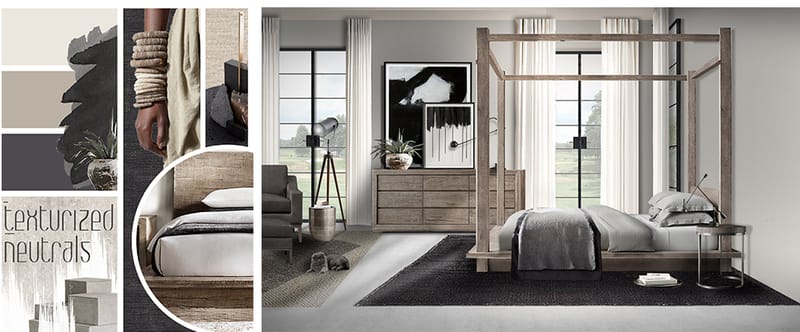
2.5 d is an excellent transition between 2D and 3D. This is a presentation that is also fast, accurate and efficient but opens the viewer’s mind to help them visualize the perceived depth and overall vibe of a space. (Photographs, mood boards, design boards, paintings, perspective drawings.)
Its very effective in conveying emotion and introducing realism to a presentation. The reason we use the term 2.5 d does not have to do with the appearance, as 2.5 d many times is Photorealistic. We use this term to explain the process in which it was made as well as convey the limitations it has.
For instance, in 2.5D presentations, you cannot do a 360 camera rotation around a product or space. You cannot produce multiple views or angles of the same space (at least not in a timely manner). The view is usually locked and only intended to portray a single angle. This is an approach to presentation that offers designers and their clients a 3dimensional concept of space (realistic or otherwise) in a cost and time effective approach that can show quick variations.
– When to use 2.5D presentations?
We use 2.5D when we only need to present one or two angles of space. At the beginning of a project when we are trying to sell an idea via an abstract concept or even a highly detailed realistic single image. When it needs to be fast and may end up being something we need to throw in the garbage and offer a different look. This is where design boards come in. They can be created quickly they can show a client a realistic representation of their interior space inexpensively.
– Where does 2.5 D presentation fall short?
In 2.5 d measurements, proportions and scale can take a back seat to the conceptual nature of this approach and can be easily be misinterpreted by the artist. This is because the tools are meant to be more artistic and again speed is the name of the game.
In a case where you need accurate measured distances Heights and widths and when you need to see multiple perspectives do walkthroughs and produce plans based on the model, this is when a 3D approach is appropriate
The detailed world of 3D presentation
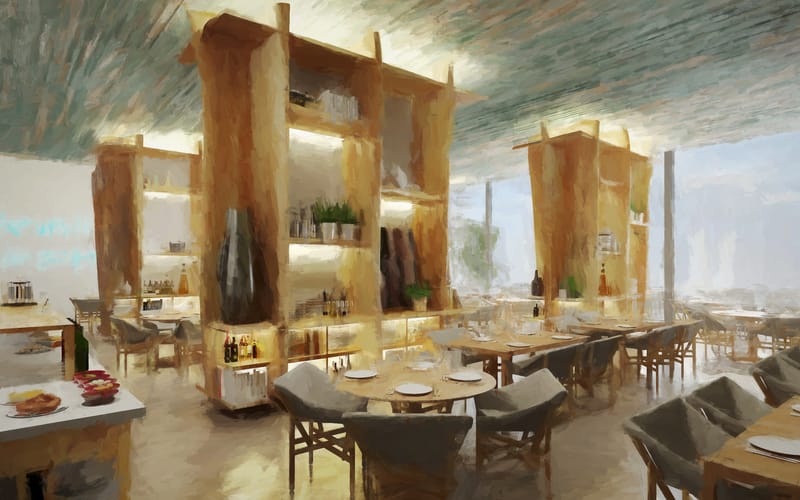
– What is a 3d interior presentation?
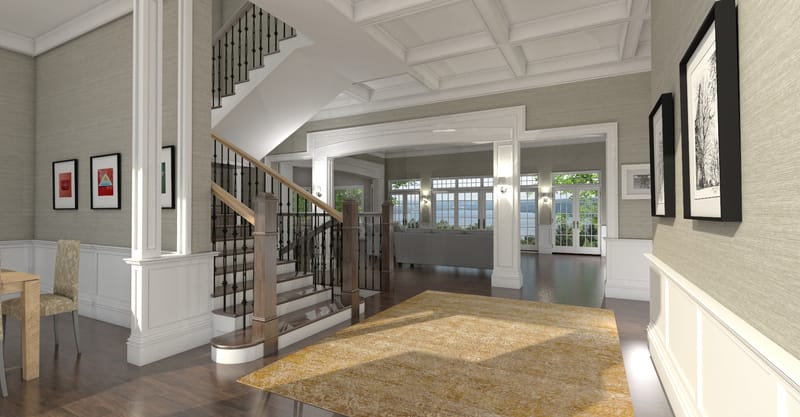
3D presentations produce some of the most realistic results and in-depth presentations available to us as interior designers. This is because 3D rendering software like Sketchup and Revit use systems and tools to measure real-world space which produces lifelike simulations of movement and lighting within a space. It’s by far the most accurate way to produce a realistic presentation. It’s also by far the most expensive, which is why its good to go through the concept phases (above) with a client before diving into 3d rendering.
– When to use 3D Interior Presentation?
Before we dive into 3d presentations we first go through the concept phase of 2D and 2.5D presentations. We want to get a very accurate idea of the space both in plan, or at-least measurements, as well as the client sign off on style and aesthetic before we even think about spending the time and money associated with a 3D presentation.
In some cases, such as when we are designing a single open space or room, we won’t even need to go into the world of 3D. However, on the flip side, when a space is dynamic and will require multiple views to be visualized, we will approach a project with our 3D workflow in mind for a final presentation.
– Limitations of 3D presentation
One of the drawbacks to using 3D is the fact that 3d modeling and texturing takes a ton of time. if you’re under a tight deadline you may be limited to using 3D libraries if you want to create quick room builds. if you have a lot of time on a project, you could model and texture all the specific products you want.
When we have projects where the clients require visualizing specific furniture from specific vendors we will almost always use Photoshop to present a space, that is unless its a huge space. On the flip side, if the job does not require specific looks of specific furniture and we can get away with using something from a 3d library that communicates the message conceptually, instead of literally, then 3D may be a better way to go.
In closing
When it comes down to it, the plan of attack you choose always comes down to the project at hand. Just because you used one approach for one project doesn’t mean you’ll want to use the same approach on the next one. The type of client, the budget, the time and the space all factor in on the call you’ll need to make.
To learn the exact workflow we use in our interior design business, join us for our upcoming workshops:
Photoshop Workflow- Perfect for developing your 2D Swatches and 2.5 D mood board and Photorealistic Design Board phases.
Sketchup and/or Revit workflows – Perfect for developing your 2d and 3D workflow with floor plans, elevations, and photo-realistic multi-view rendering.
Get started learning the basics for free with:
– Photoshop Launch,
– Sketchup Launch or
– Revit Launch..
Have any more questions? we’d love to hear from you. reply to this email and let us know whats on your mind.
Thanks for being a valued student of The Design Cure.