
In this tutorial, I’m going to go over How to make an angled corner wall using Photoshops Smart Objects.
1.) Creating the new wall.
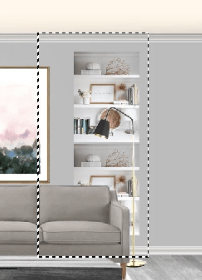
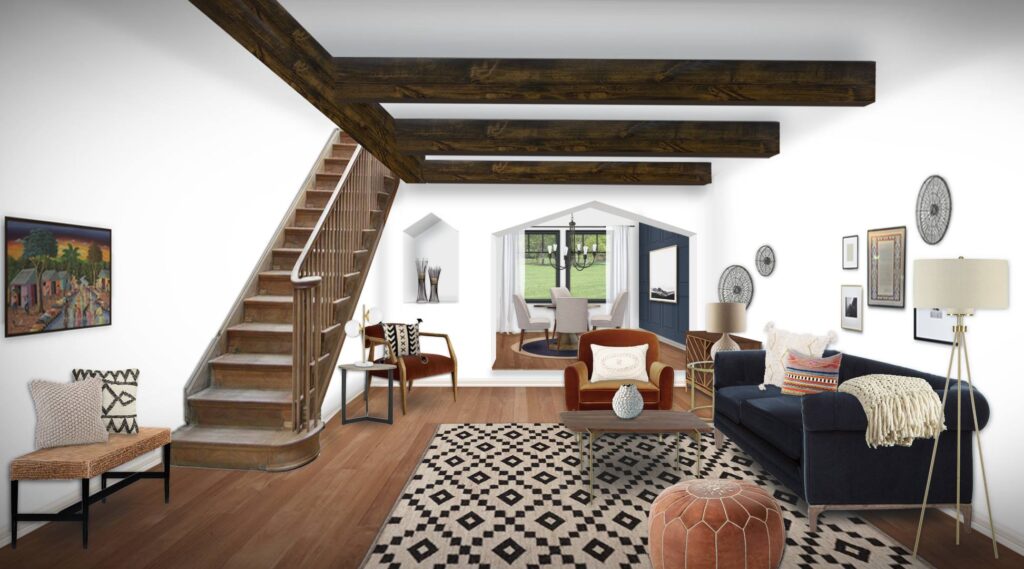
In this example, we are starting with a room that was built in the living room design kit. we are adding a new wall to an already existing room. this means we need the new wall to look like the already existing walls.
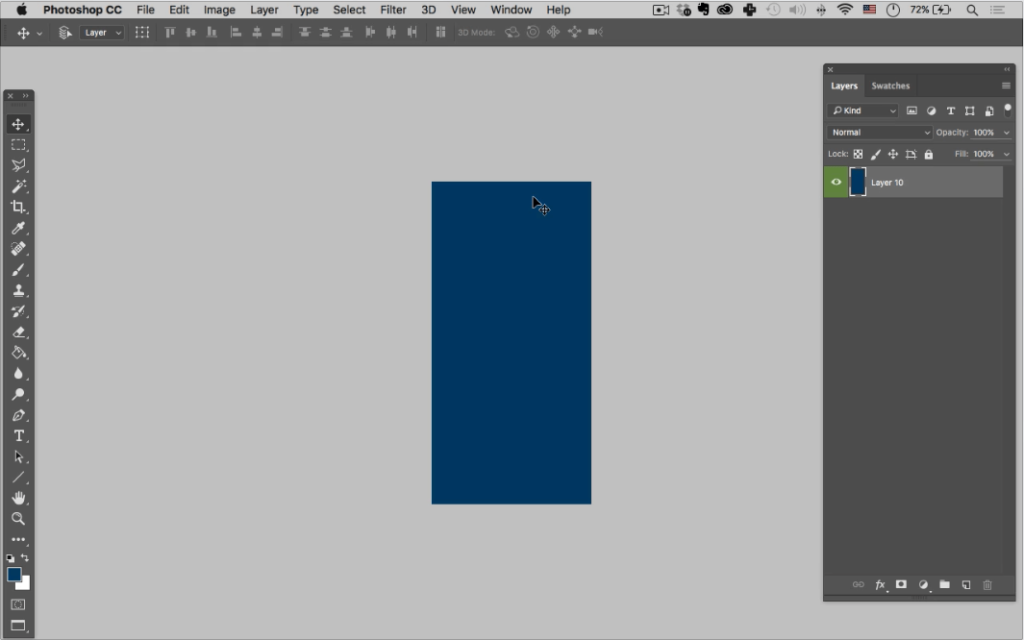
Step 1: First I want to create a section that is basically the same size as my back wall.
Step 2: Then I want to fill that selection with any solid color
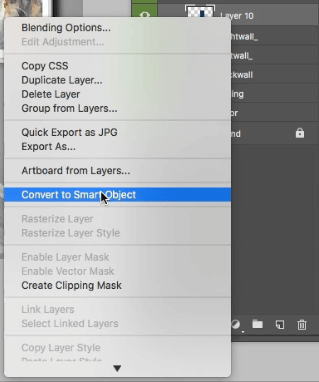
Step 3: then right click on the layer and choose convert to the smart object in the menu.
2.) Placing the new wall.
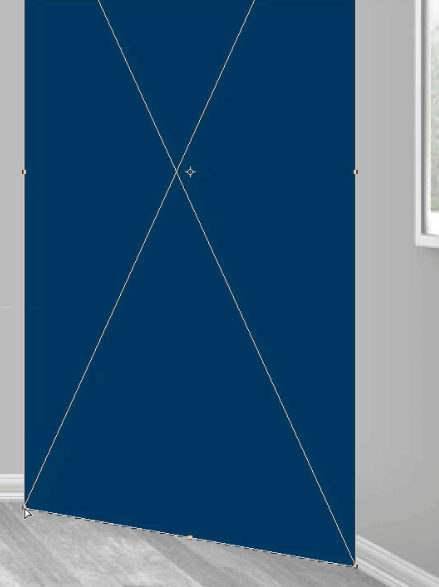
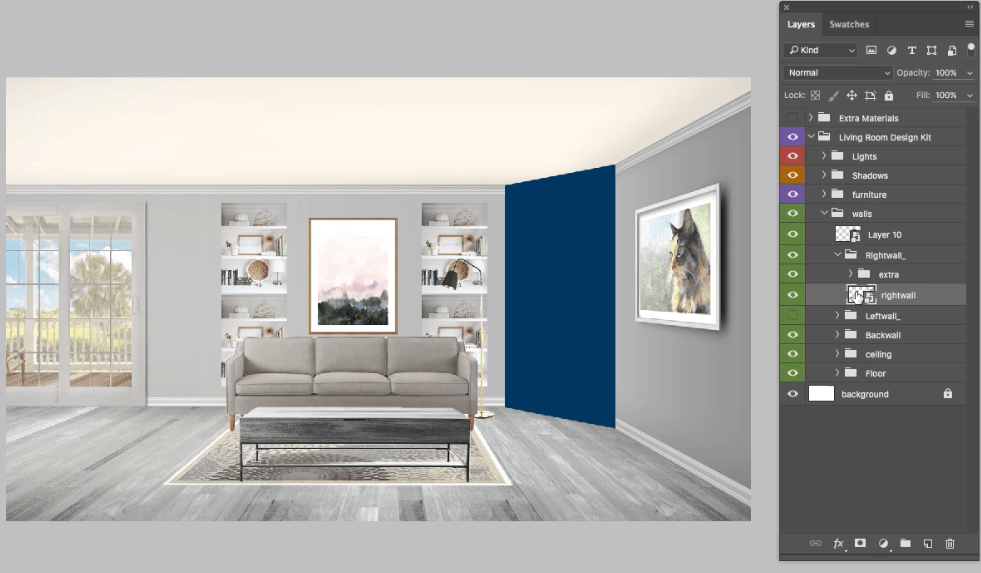
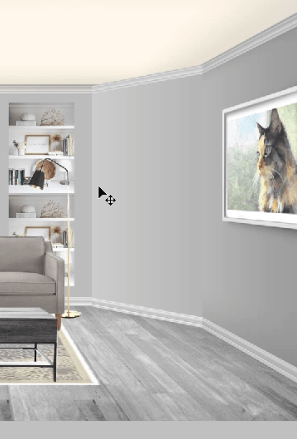
Step 1: Next, I want to move the new smart object layer to sit approximately center between the two walls it will be joining.
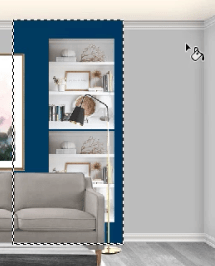
Step 1 Next, I hit Command (ctrl-T) to bring up the free transform tool. I then right click and choose the perspective settings Then grabbing the upper right corner I align the new wall to connect with the side wall along the top and the bottom.

You may need to zoom in (CMD +) a little to make sure your corners are lining up to the existing walls.
3.) Texturing the Angled Corner wall.
Step 1. Once you’re happy with the alignment double click on the new smart object layer open it. it will need to be opened in order to paste existing wall elements into it.
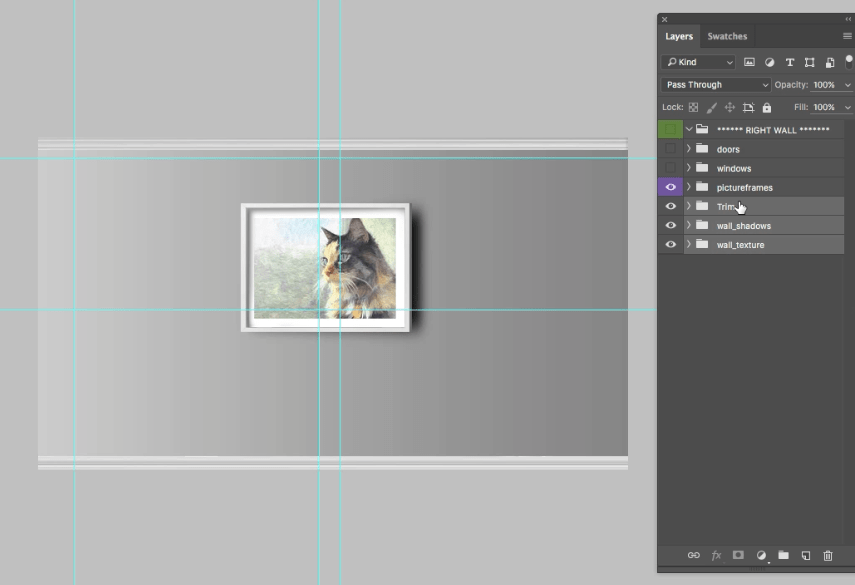
Step 2. Toggle back to the master.PSD. with the kit opened double click on the “right wall smart object” to open it.
Step 3. With the “right wall” opened select the elements that make up the wall (Trim, shadows,wall_texture etc.) and group them (CMD G).
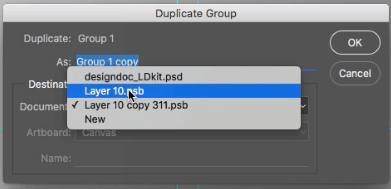
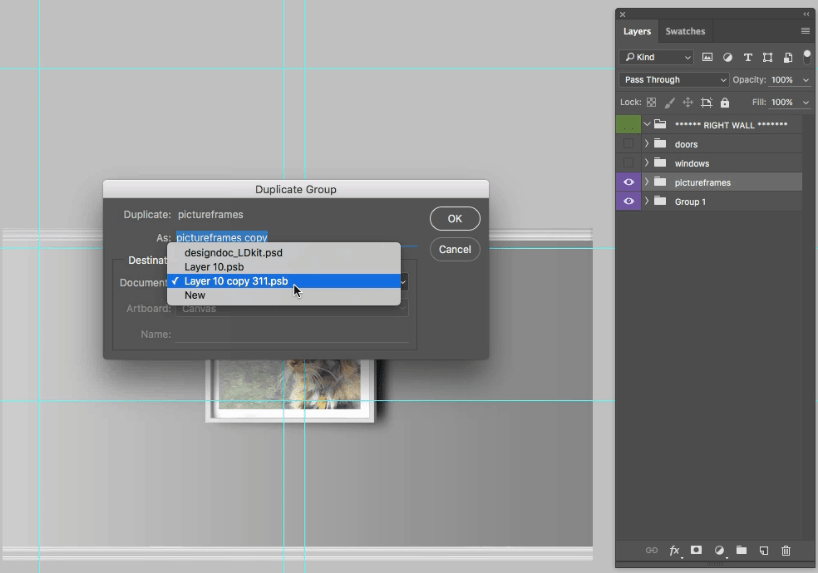
Step 4. Next, go to “Layer” > “Duplicate Group”.

Step 5. Choose which .psd/smart object you want to duplicate these elements over too. In this case “layer 10″.
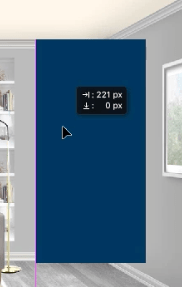
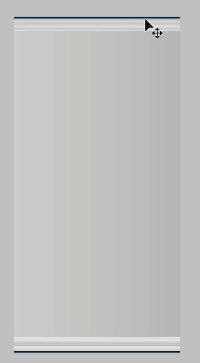
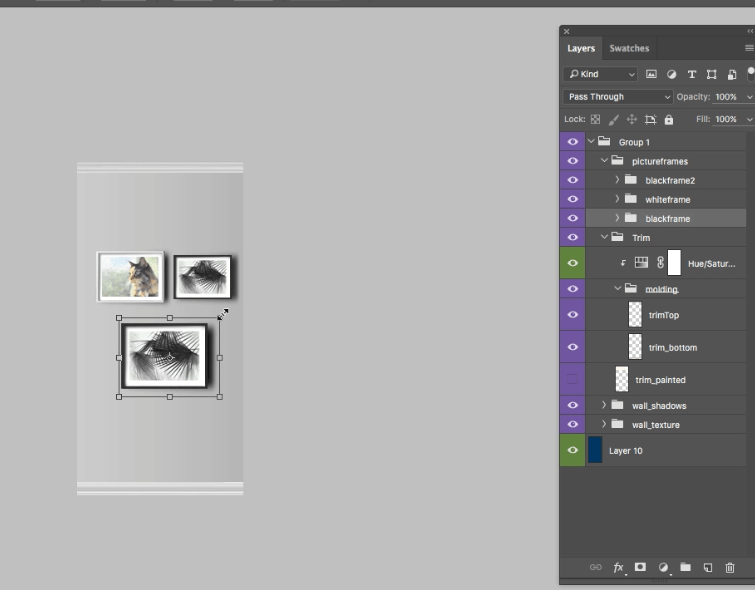
Step 6. then toggle over to your already opened new wall smart object (ctrl, Tab). In this case, you will notice I have a little excess blue area which I will need to get rid of.
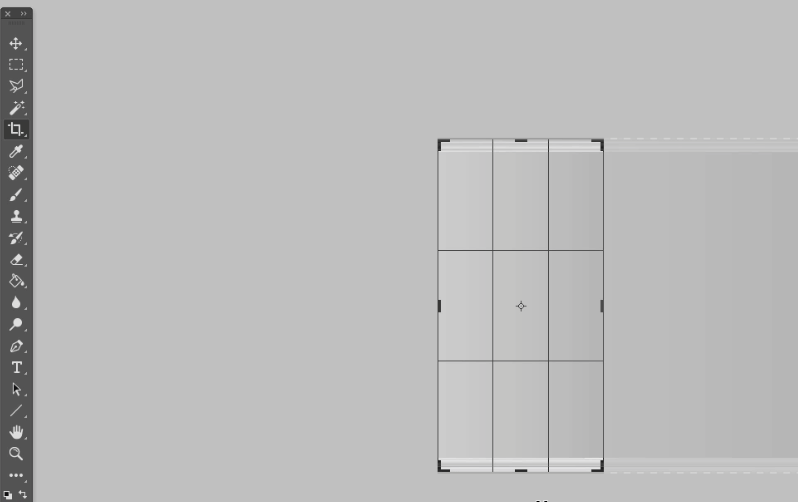
Step 7. To do so I want to us the Crop tool to shave off the excess areas.
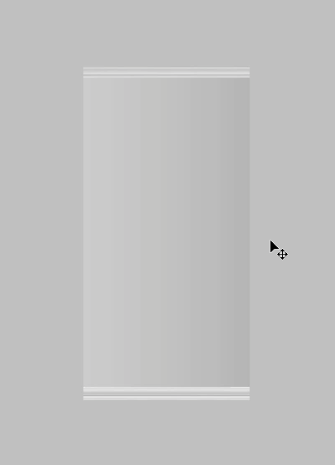
Step 8. To get it to look like the following image. Then hit SAVE (CMD, S)
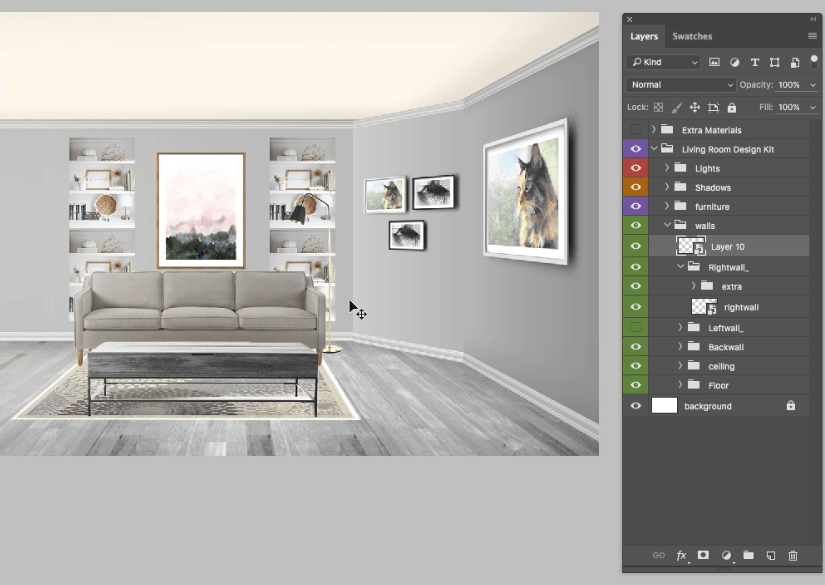
Step 9. And toggle back to your Master.PSD. You should now see the master has updated to the new texture that matches the other walls. Note you may need to make some minor adjustments to the angled corner wall via the Transform and Perspective tools and potentially adjust your trim layers to be higher or lower to get everything to line up correctly.
4.) Adding artwork to the angled corner wall.
An extra bonus to working with smart objects is you can now add detail such as artwork to your wall and have it all updated in the master file in perspective. Note: below is an example using the design kit but you can always bring in your won textures. Example: Step 1. Let’s go back to our right wall and duplicate the “picture frames “group to our angled corner wall.
Step 2. now we can quickly add some artwork to the new corner wall.
Step 3. Now we can quickly add some artwork to the new corner wall.And now, can see it update in the master file.
Conclusion
Thank you for joining me on another free Photoshop Tutorial. If you have any questions at all regarding the creation of an angled corner wall please don’t hesitate to reach out to our support team. Happy Designing!
Want to learn more? check out our Design Board Bootcamp course, inside of Bootcamp you will get one-on-one support and training as well as access to our 3D room kits.
.