
Welcome to this lesson on Creating a 3d room using Photoshop. In this lesson, we will look at how to create a 3d room or space that we can start designing.
Intro
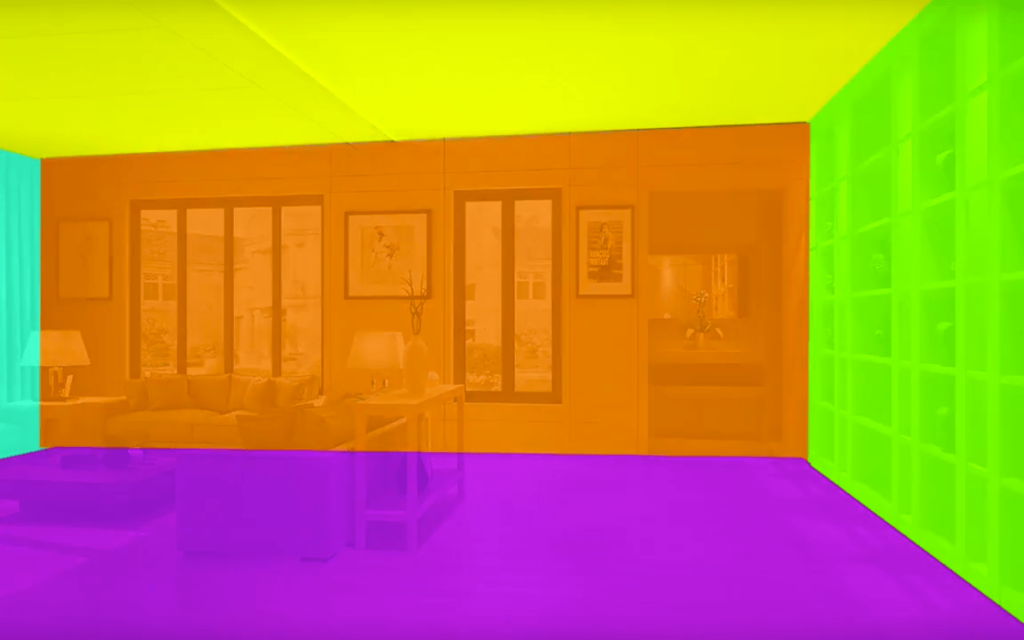
At this point, I’m sure you guys are ready to dive in and start designing. But before we can do that The first thing we need to do is create the 3D room that will house the design in. In most cases, a client will give you a photo of a room they want to be designed and you will need to know how to translate the photo into a 3D room that you can then add furniture and appliances too. In general, most 3d rooms can be broken down and summarized with 5 planes or walls, including 3 vertical walls, a ceiling, and a floor.
As we know from the previous lesson we can make a single plane using the marquee tool. But how do we manipulate that single plane into a 3d room? In this lesson, I will teach you how.
1: The transform tool
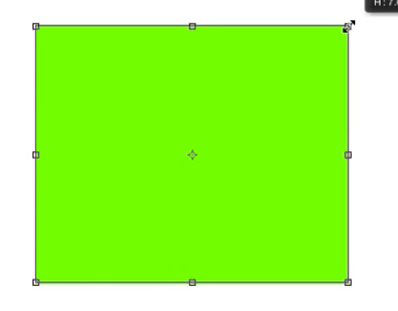
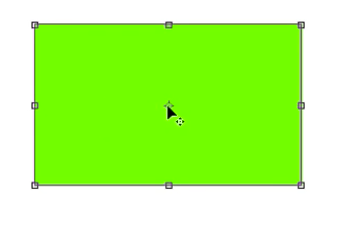
Free transform- default ( CMND -T or CNTRL-T ) This tool can be used to manipulate an image. simple click on the layer you want to manipulate and then click CMND-T or CNTRL-T. by default, you will be able to scale stretch or squash any image.
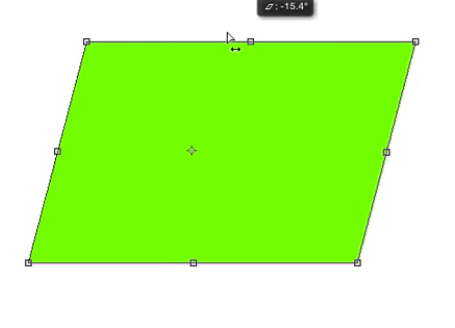
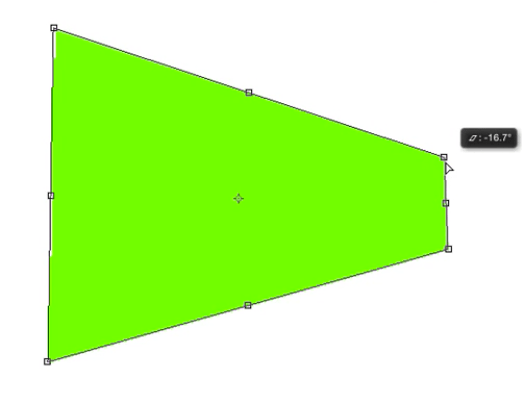
The following are settings within the free transform tool and can be found by hitting ( CMND -T or CNTRL-T then right clicking ) Free transform- Skew this tool allows you to skew and image. simply grab the center dot on any one side and drag.
Free transform- Distort Very nice for free manipulation of an object, play with it to see what it can do.
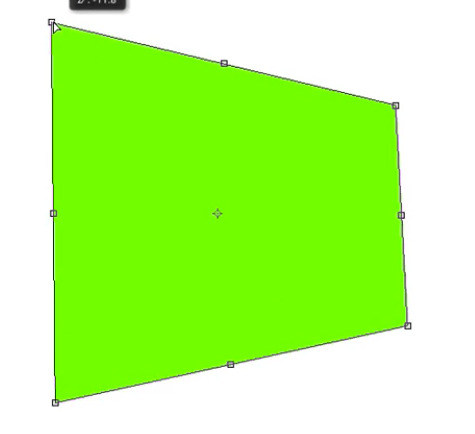
Free transform-PerspectiveThis is a very commonly used tool, the best way to get
acquainted with this tool is to play with it.
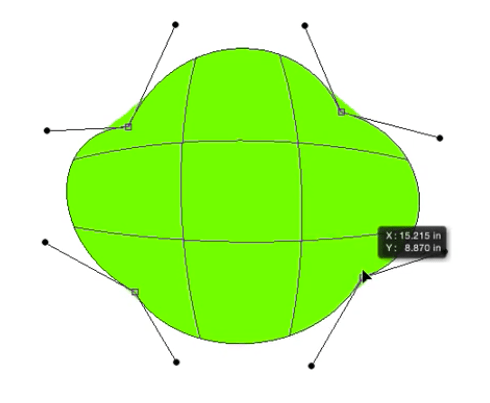
Free transform-WarpA great tool for shape manipulation and creating your own designs from an existing shape
Free transform-Anchor point This is used frequently when we want to scale an image down towards the anchor point or when wanting to rotate around or flip around the anchor point. Simple grab the little dot in the center (the anchor point) and drag it tow thereto want it. To scale towards it hold alt and drag any side of the transom container towards or away from it.
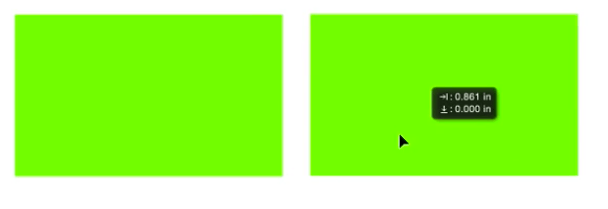
Free transform-Flip Easily flip an image vertically or horizontally, great for reflections or duplicating walls etc.
Lesson 2: The line tool
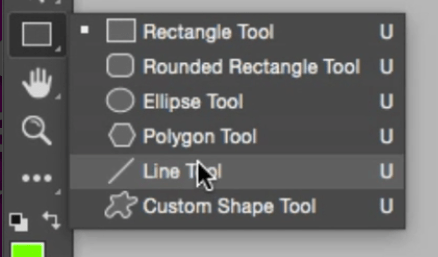
Setting Line width
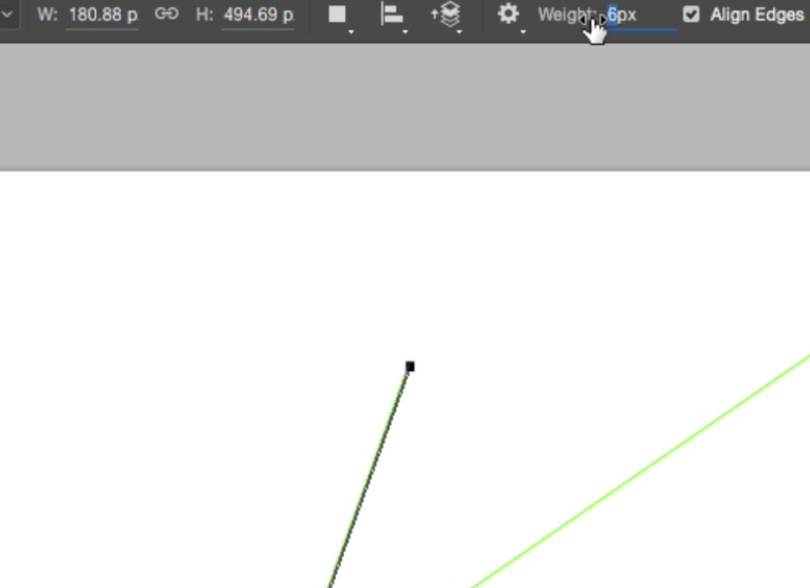
In the properties panel, you can select a weight for your lines and adjust the thickness.
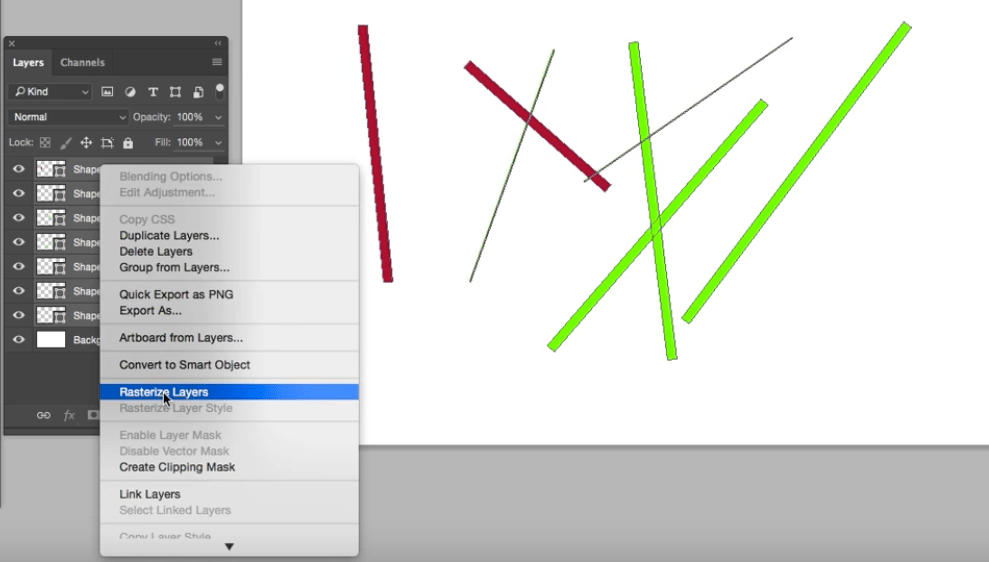
Rasterize a group of lines
After creating your lines you may want to manipulate them all as one group. select all the lines, right-click and choose Rasterize.
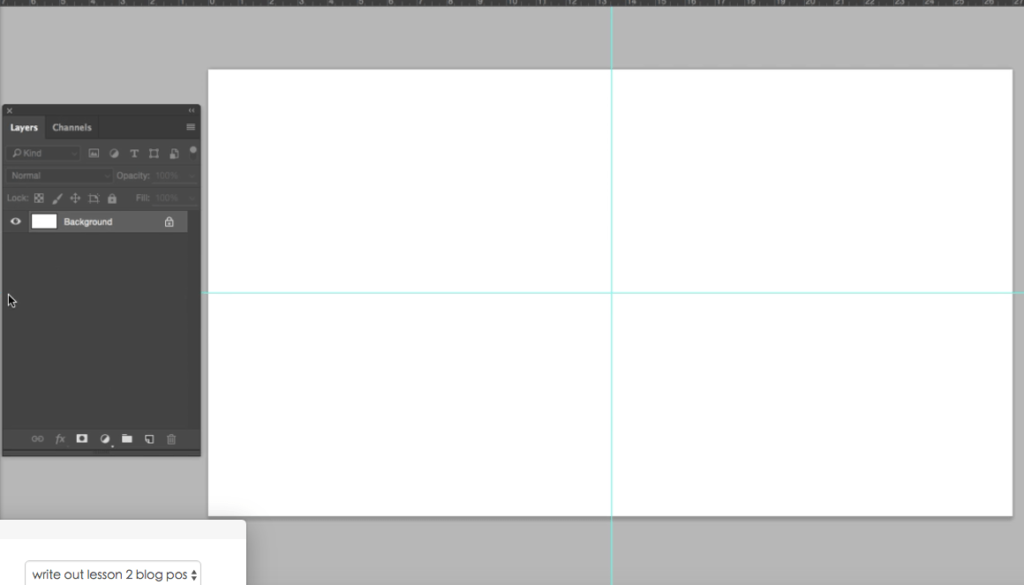
Lesson 3: Creating perspective lines (one point perspective)
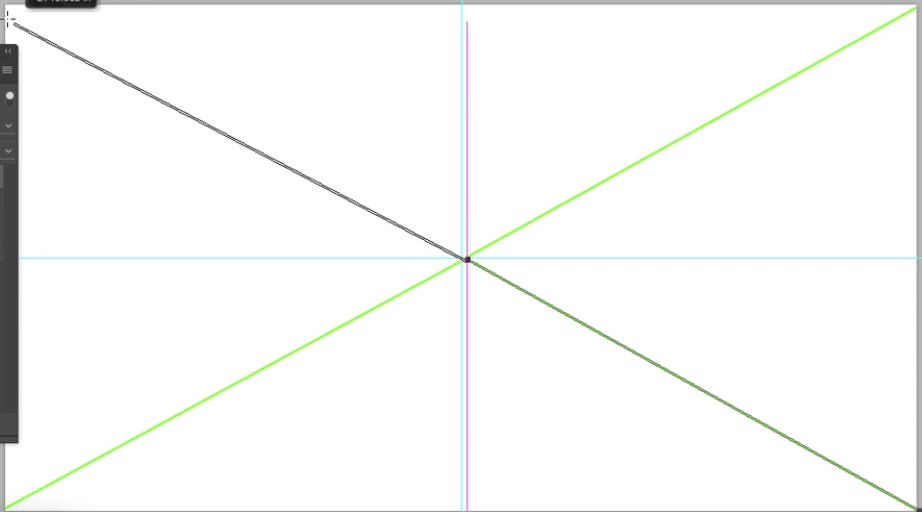
To create a simple one point perspective for the 3d room, – Choose rulers (R) This will bring up the rulers and you can find the center of your canvas with a little math, I know I hate it too. – Use the line tool to create a one-point perspective. Simply draw a horizontal line across the center of your canvas and another line across the vertical center, where they meet will be your one point.
– Turn off the rulers by hitting R and get this out of the way. – From the center point drag new lines to each corner of the canvas. And then start adding as many lines as you want in-between.
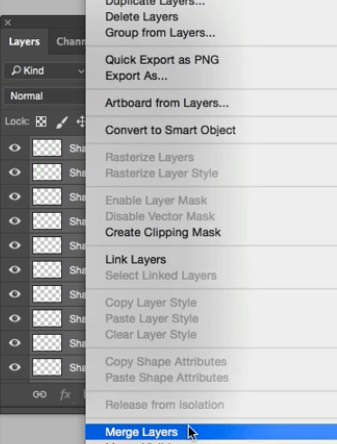
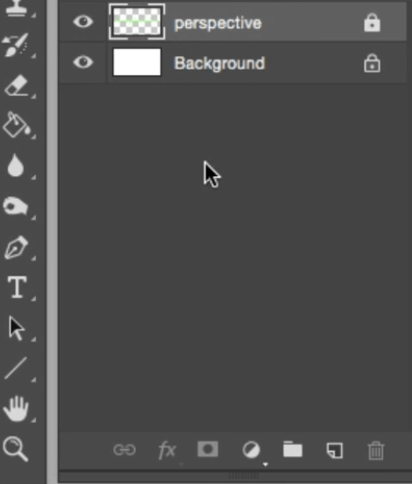
-Then finally, select the layers (shift select) and right click and merge layers. this will give you a single layer. double click on the layer and name it “perspective”.
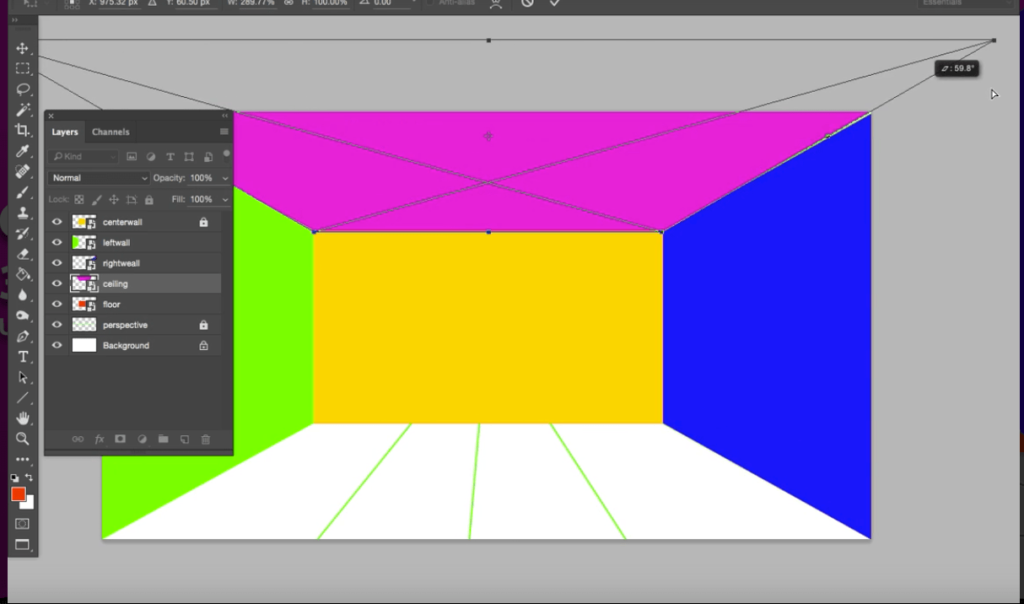
Lesson 4: Creating 6 walls
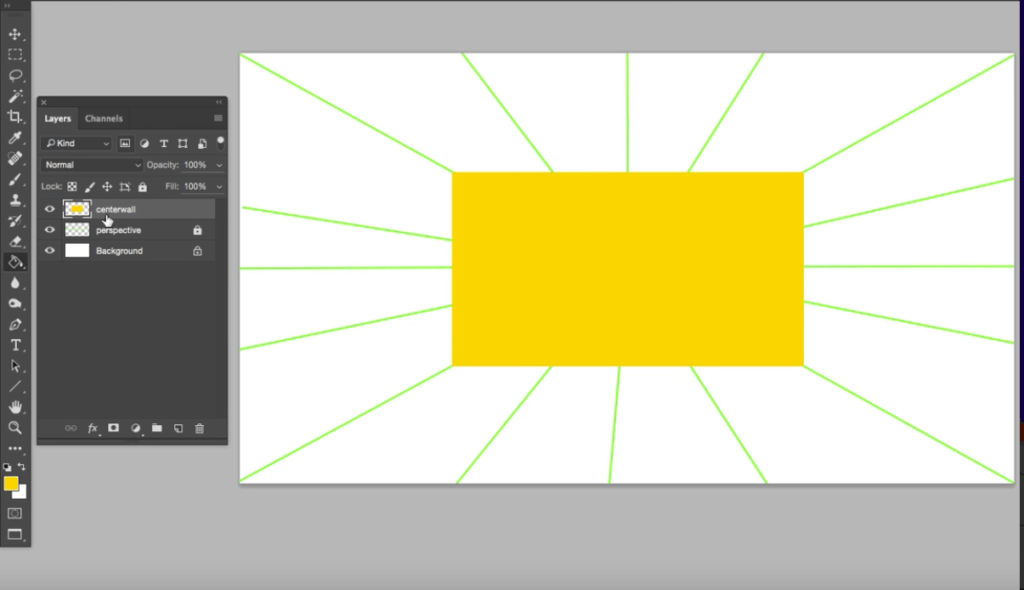
1. Turn on the perspective line layer that we just created and make a new layer. Go to layer (in the top navigation panel ) and select a new layer. Name this layer “center wall.” 2. Select the marquee tool and drag a square that touches the 4 lines that each to the corner of the canvas. Marquee tool (m)
3.Duplicate layer (with the center wall selected hit alt and drag the layer up or down to duplicate it. do this 5 more times, these will be your side walls.
4,Select each wall and with the transform tool selected (CMND T) ( right click choose perspective mode) begin placing walls in perspective. See video for more detail.
5 : Homework
So for this lessons exercise, I want you guys to build a room. Take a look around you, how would you build out the room your sitting in? What would be your center wall to start with? If you get stuck leave me a comment below and ill do my best to get back to you. In the next lesson, we will look at how to begin adding furniture and appliances with more advanced manipulation tools. Be sure to subscribe to the channel and receive new tutorials every week that will help you master photoshop for interior design.
Learn how to apply textures, lighting and furniture within our Bootcamp course.