
How To Create a Bathroom in Photoshop
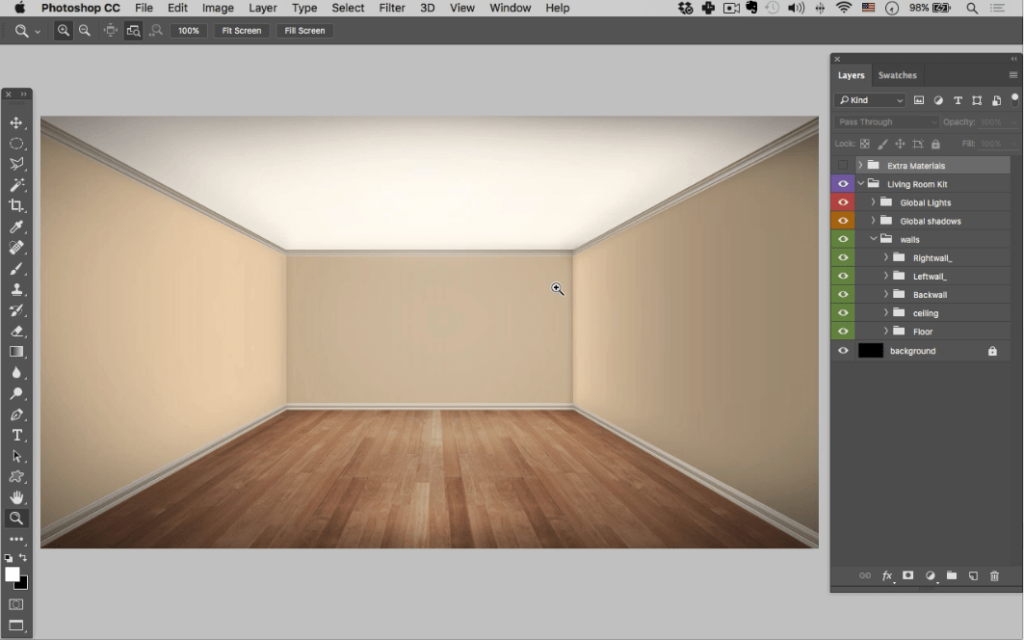
Getting started
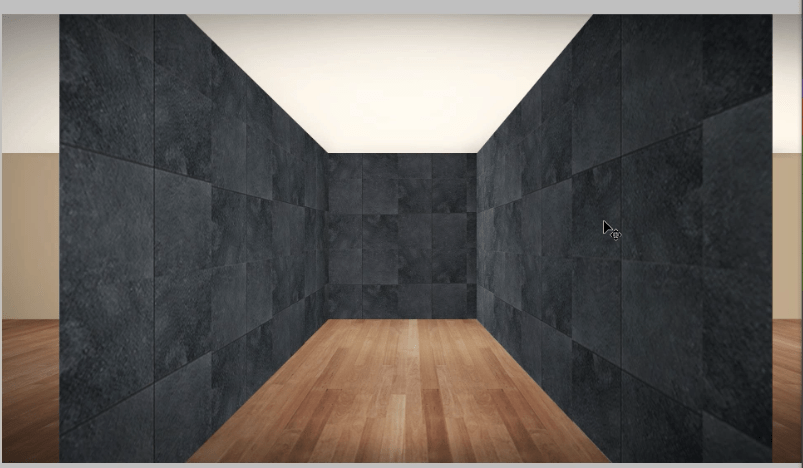
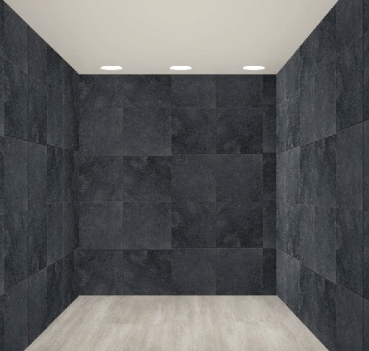
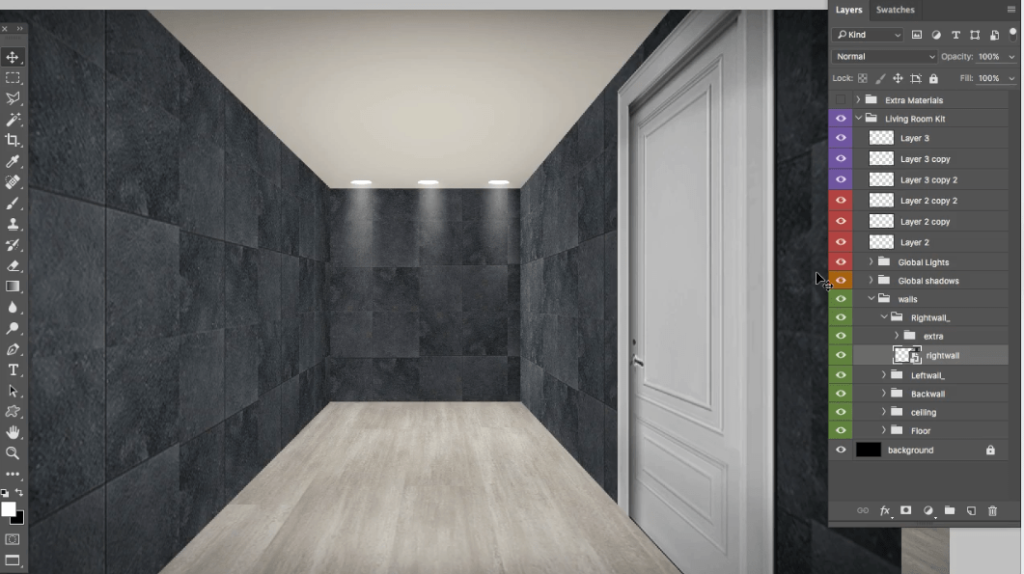
Step 1: Starting with the living room design kit, open up the walls group.
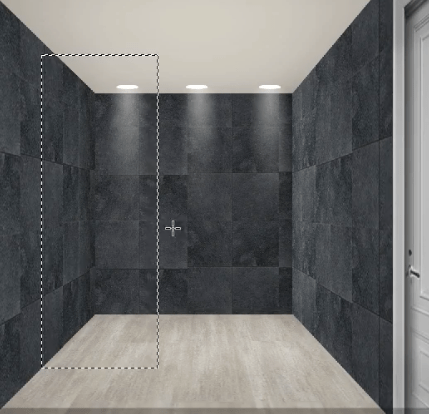
Step 2 : drag the left and right wall in towards the center point. you can use the “extra materials group to show the center point.
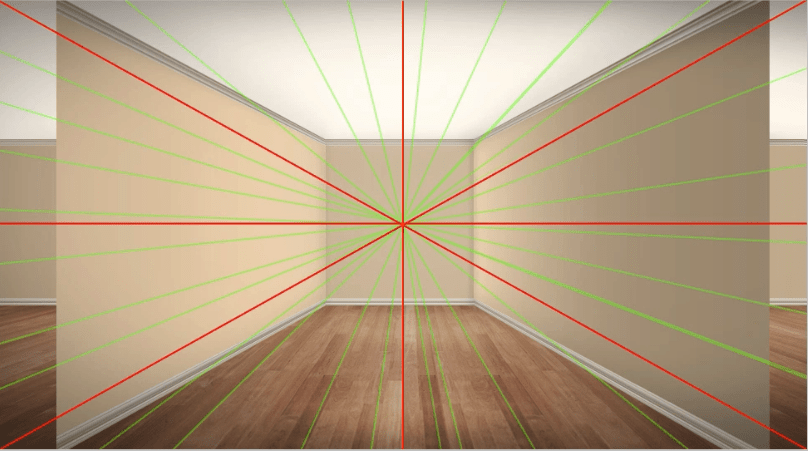
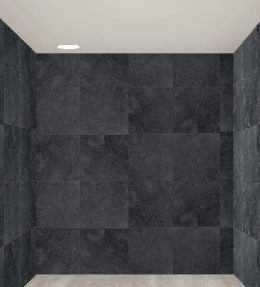
Step 3: Once the walls are dragged in you may notice the perspective is off.
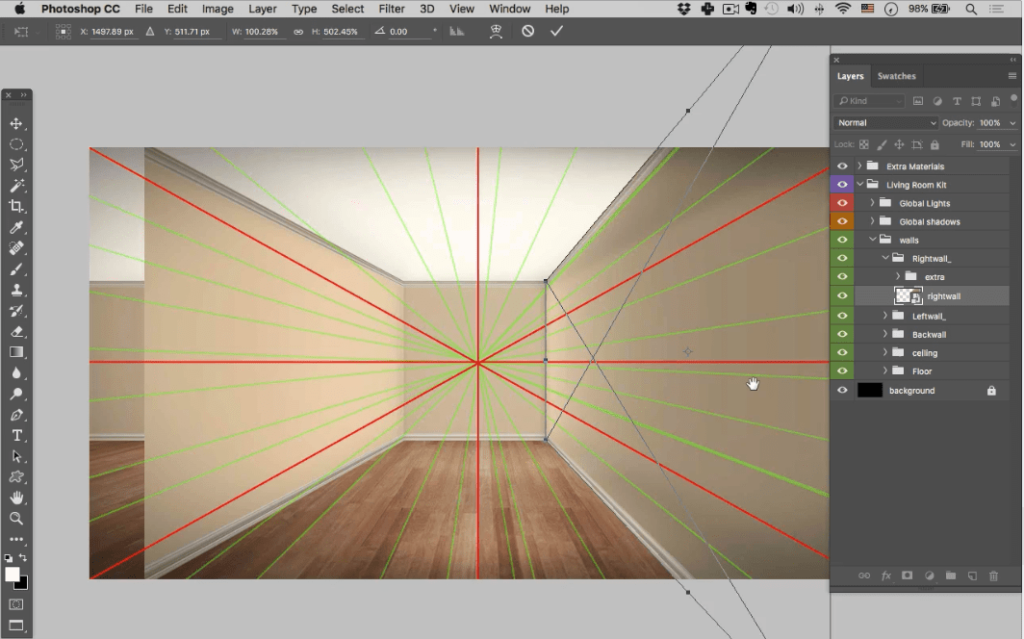
Step 4: Once the walls are dragged in you may notice the perspective is off. Use the perspective tool on the individual right and left wall layers to adjust the perspective.

Adding Textures
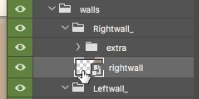
Now let’s add some texture to the left and right walls. Step 1: Double click not the right wall smart object.
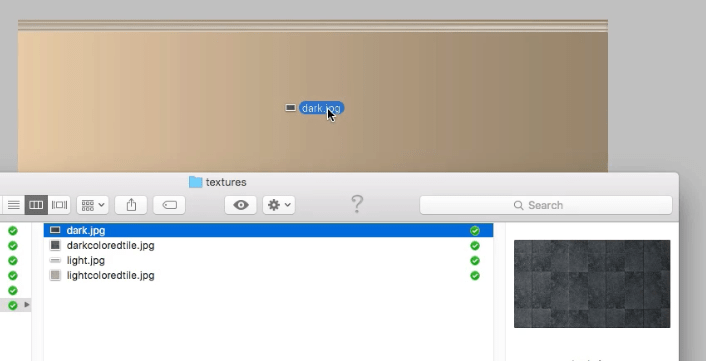
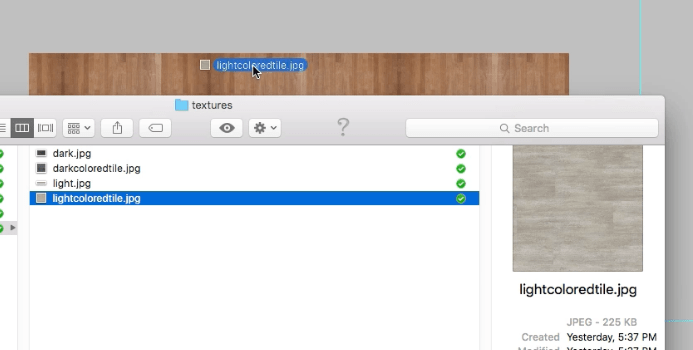
Step 2: Drag a texture from your folder into the right wall smart object.
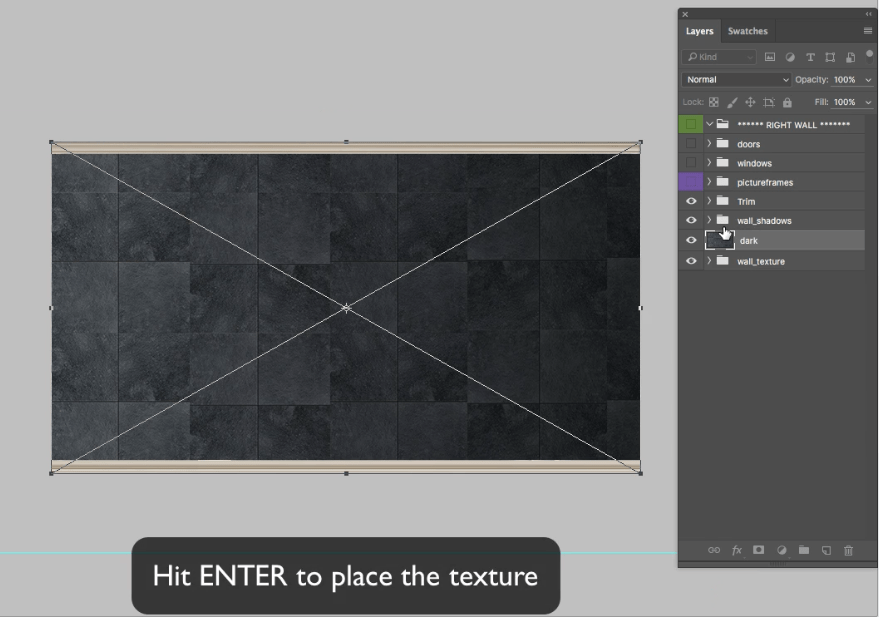
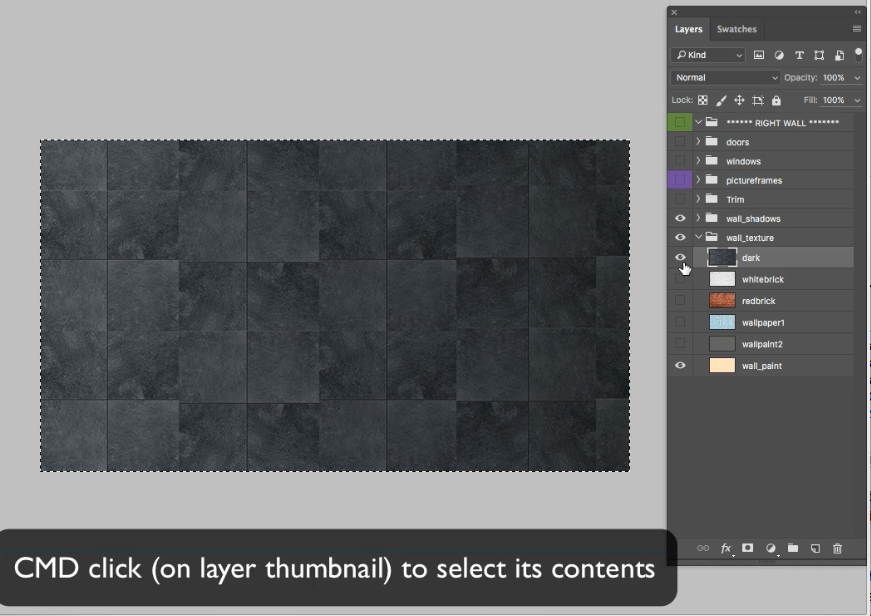
Step 3: once its placed copt the texture by holding CMD and clicking on the thumbnail of the layer. the hit CMD C to copy. Then save (CMD S)
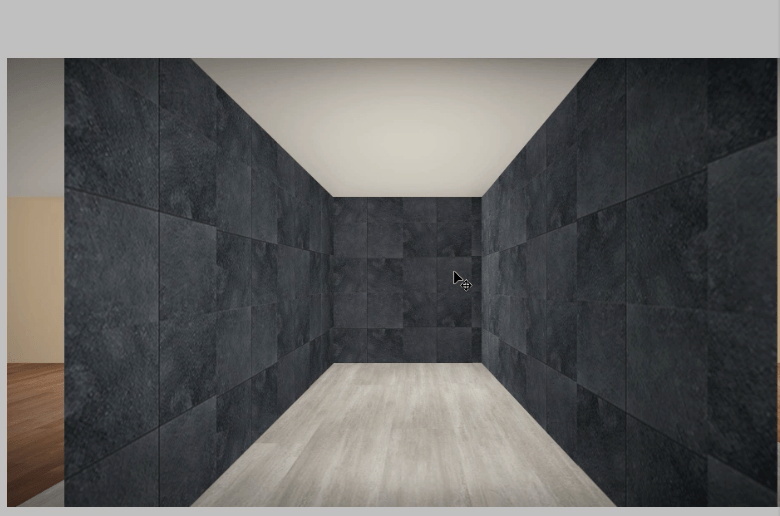
Step 4: Toggle back to see the master .psd (CTRL Tab)
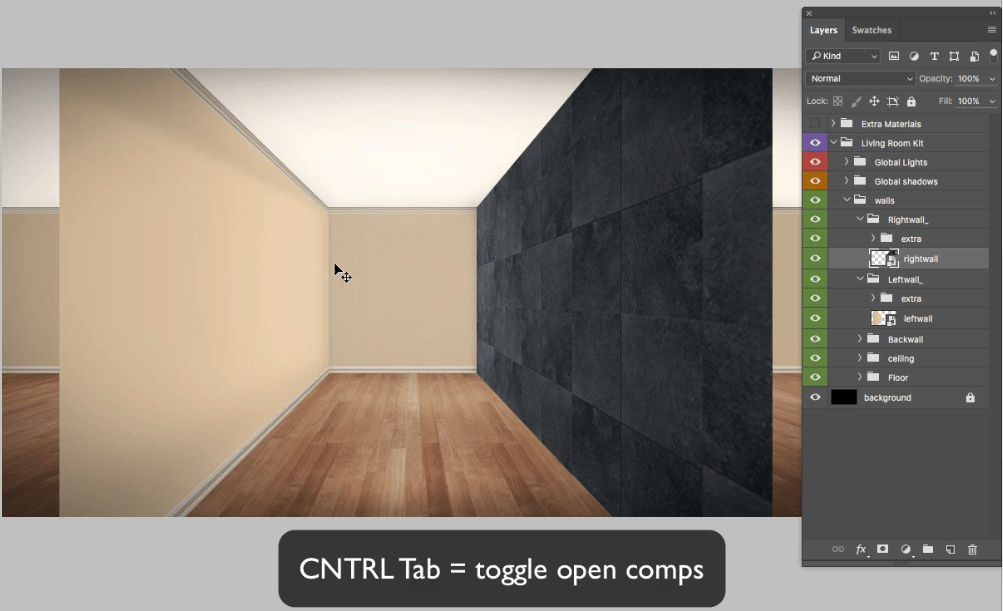
Step 5: Repeat the process and copy the texture into all 3 side wall of the living room design kit.
Texturing the Floor
Step 1: inside the “floor group” double click and open the floor Smart Object.

Step 2: Inside the “floor group” double click and open the floor Smart Object. again drag a texture from your folder into the .psd .
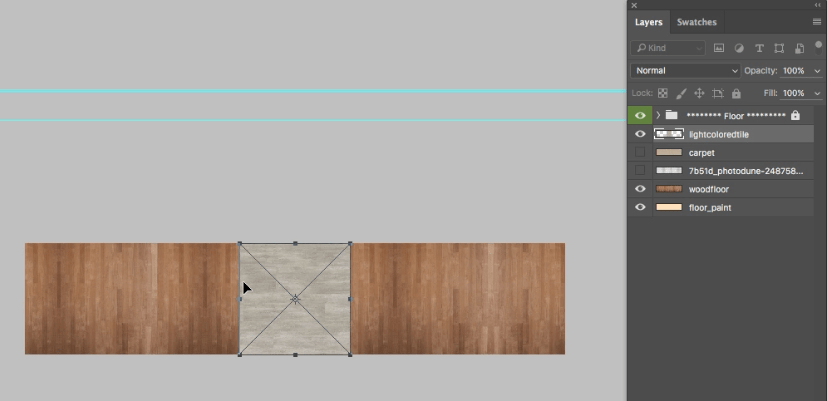
Step 3: Once the floor texture is in place save it and toggle back to the master comp.
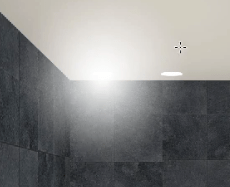
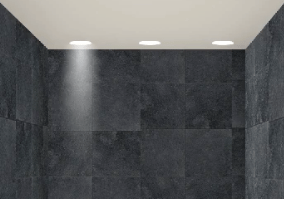
Adding a canned light fixture or recessed light.
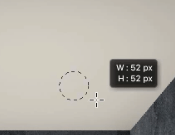
Step 1. Using the marquee tool drag out a circle. Hold Shift to make it perfect circle.
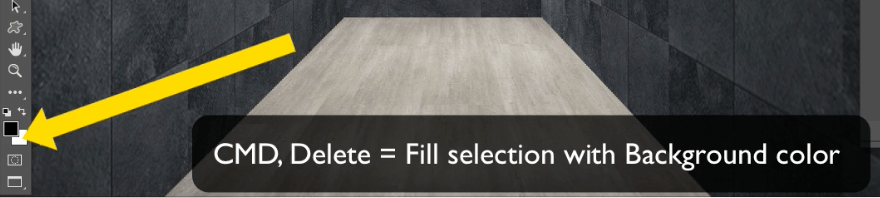
Step 2. Fill the selection with black.
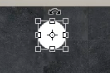
Step 3. transform the circle by hitting CMD T and scaling it in from the bottom.
a.
b.

Step 4. Place the new canned fixture into place.
Step 5. Duplicate the recessed light twice to make 3 or more duplicates at the back wall.
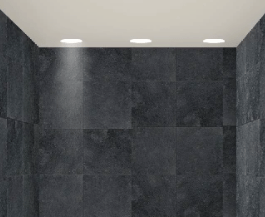
Step 6. Next, choose the gradient tool and make sure the transparency setting is selected. Also make sure that a white color is existing in your foreground color picker.
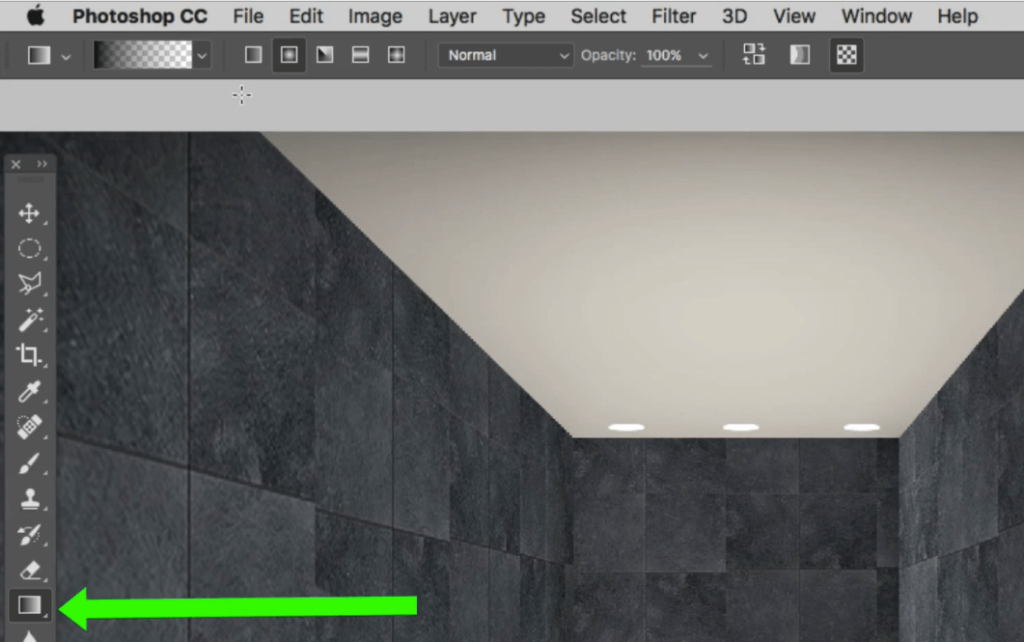
Step 7. drag the gradient tool down to approximately the size you was your light to cover.
When you release the tool you should see radial gradients like this.
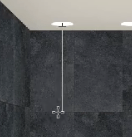
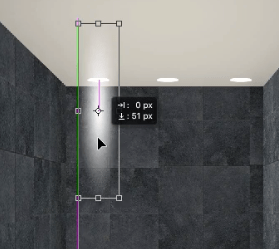
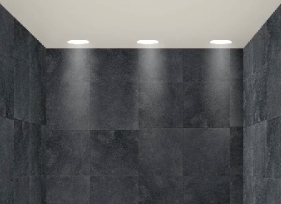
Step 8. Using the transform tool scale the gradient or volume light in to be more of a ray of light.
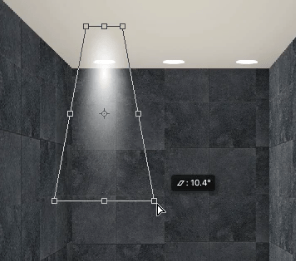
Step 9. Using the perspective setting of the transform tool scale out the base of the volume light to
Step 10. then, using the marquee tool grab the section that extends above the canned fixture and scales it down using the transform tool.
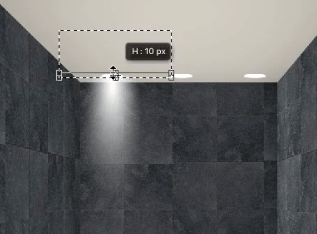
- Next take the opacity of the volume light down so it has less strength so it looks more realistic.
12. When you’re happy with the look, duplicate it for each light fixture.
Adding a bathroom door.
Step 1 Going into the right wall smart object, turn on the door layer or add a door of your own.
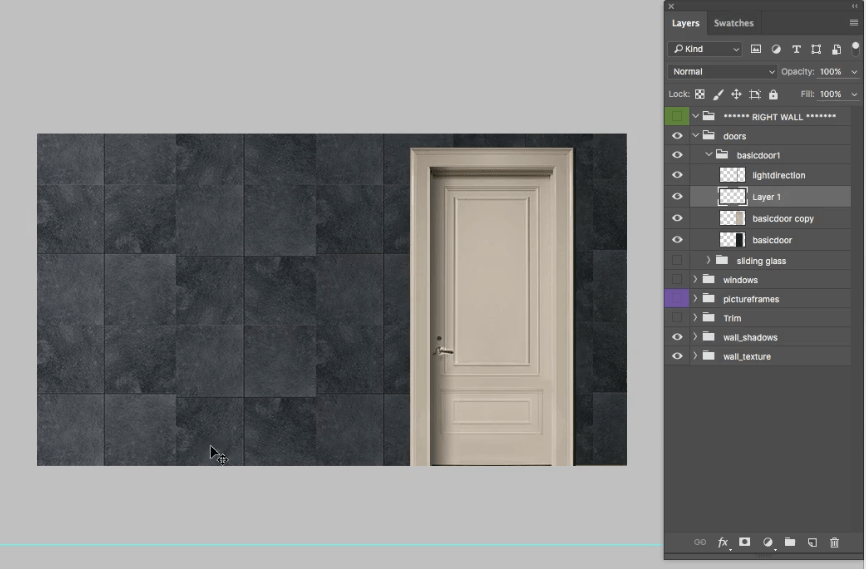
Step 2. Go back to the master command check your positioning.
Creating a shower door in the bathroom.
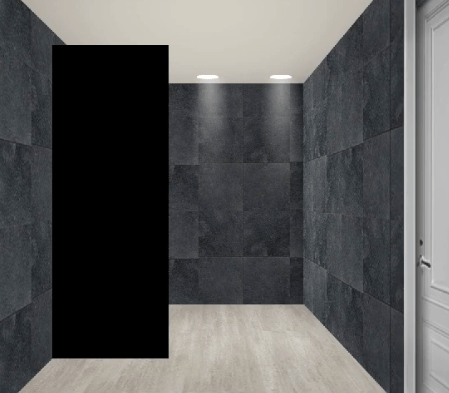
Step 1. Make a new layer and Use the marquee tool to create a selection.
Step 2. fill the selection with a black
Step 3. Take the opacity of the new layer down.

Step 4. Duplicate the shower door, and with the transform tool to scale it in on both sides.
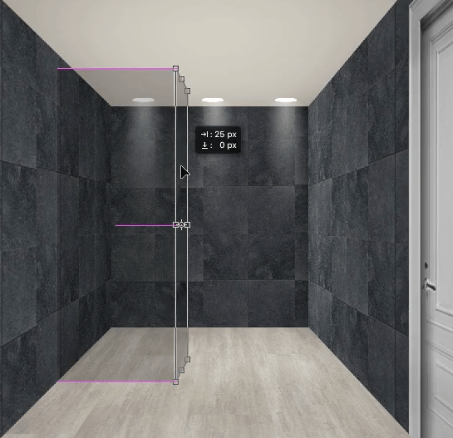
Finally put it into perspective by turning on the extras group, then using the perspective setting of the transform tool put the side door into place.

Conclusion
Thank you for joining me for another tutorial.

To learn how to take this room even further check out our Design Board Bootcamp course.