
After receiving a lot of questions from designers on how to insert product images into design boards. I decided to create quick and detailed tutorial covering a few ways to do this using Photoshop.
Method 1: For how to insert product images into design boards:
Duplicating a layer between two Photoshop docs.
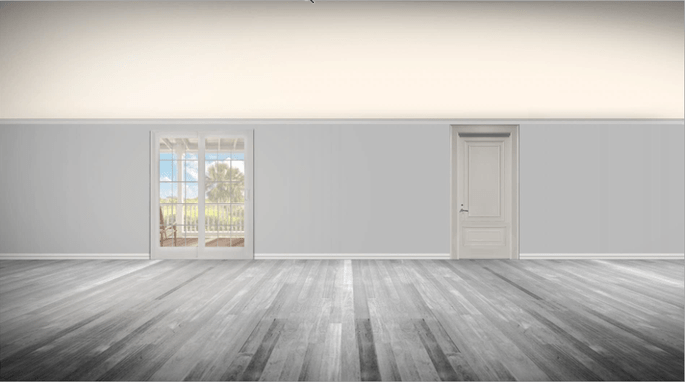
To start off we have a blank room that needs some new furniture.
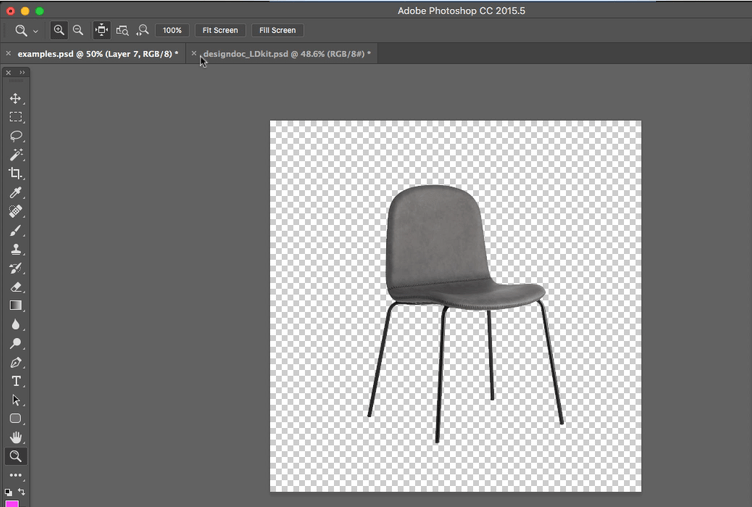
In a separate comp or .PSD I have a chair. I have already removed its background. I just need to transfer it from this Photoshop Document to my style board document. tip: Hit F to toggle between 2 Photoshop Documents.
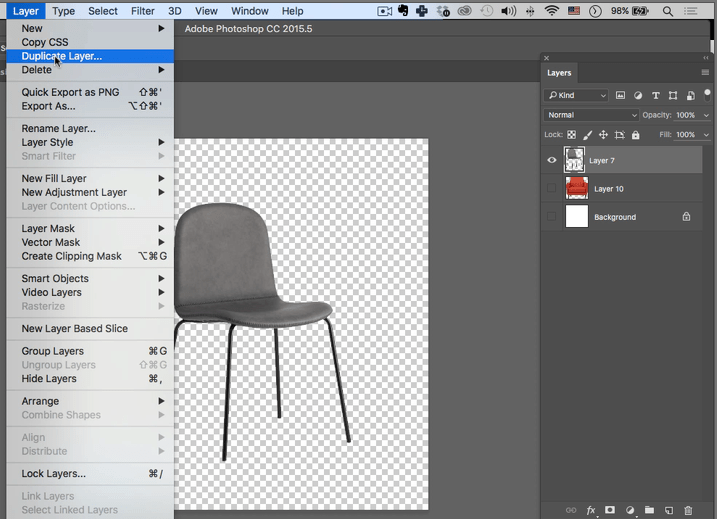
To do that, I will make sure I have my chair layer selected, I will go to “layer” (in the navigation bar) and select “duplicate layer”.
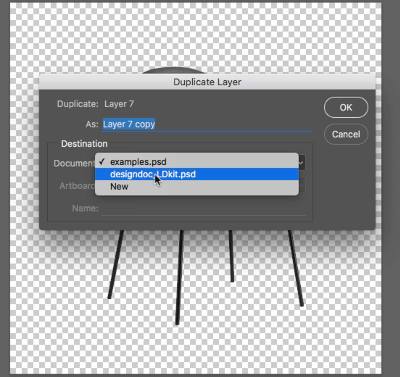
This opens a dialog box that asks where I want to duplicate my layer too. I want “designdoc.LDkit”. This is my other document where the style board is.
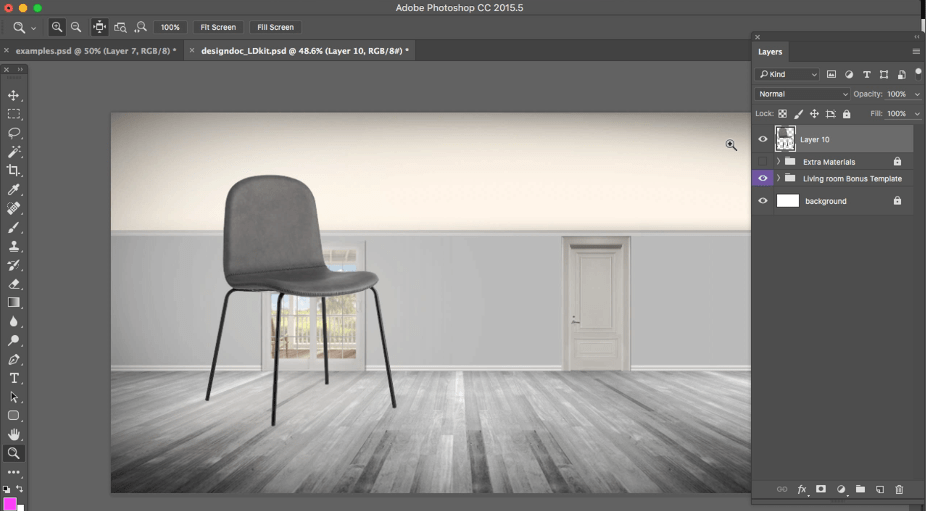
When I go back to my style board I can see that the chair has been copied and pasted into my style board document.
Method 2. Drag and drop from computer folder.
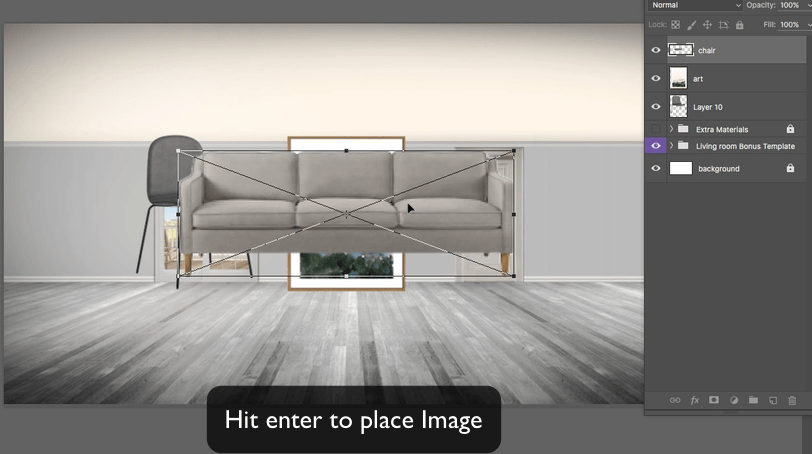
This method assumes you already have furniture saved on your desktop somewhere and you just was to bring it to your design board.
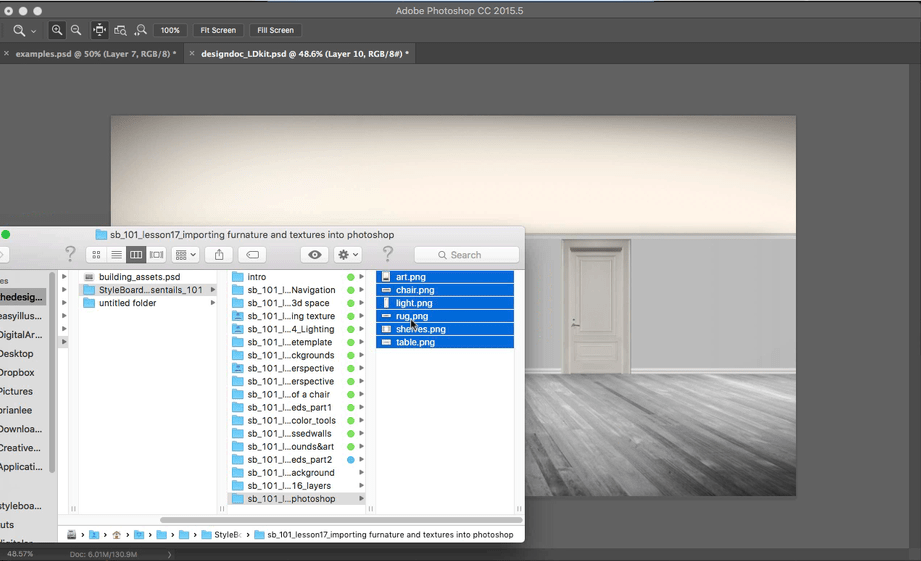
In this case, I just need to navigate to my folder select the images I want to bring in.
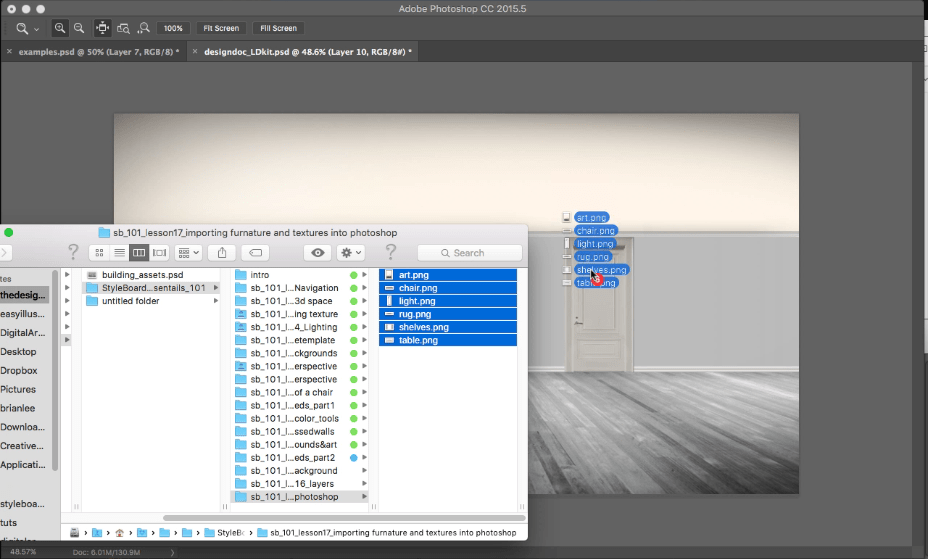
Then, drag and drop them directly into the Photoshop Interface.
You will probably notice that they come in with a transform box around them. To continue to import multiple types of furniture just hit “Enter” to place each imported image.
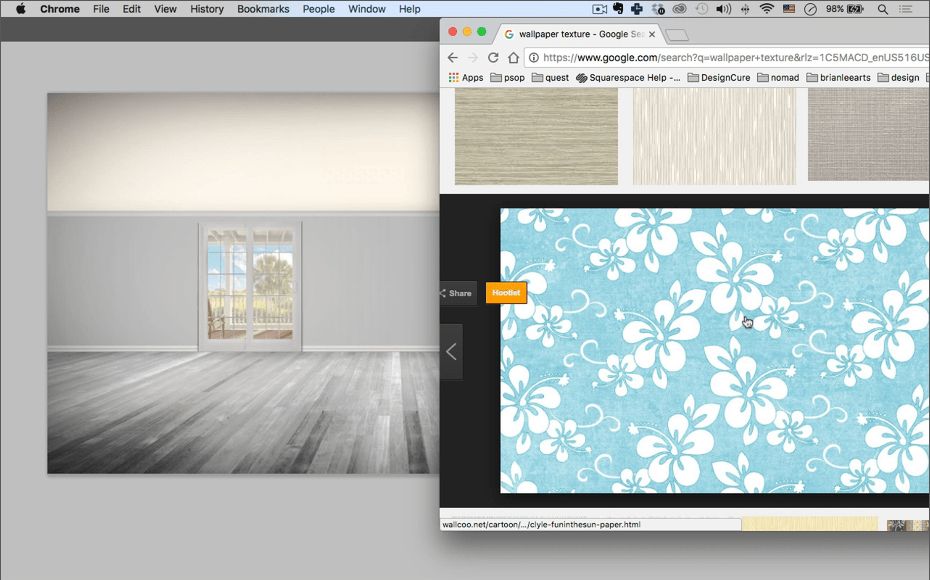
Method 3: import from the internet browser.
This is a technique that I use very often. Simply find the image or texture that you want to import. (make sure you are viewing a large image and not a thumbnail).
Then drag it directly into the Photoshop Document like we did in the previous method.
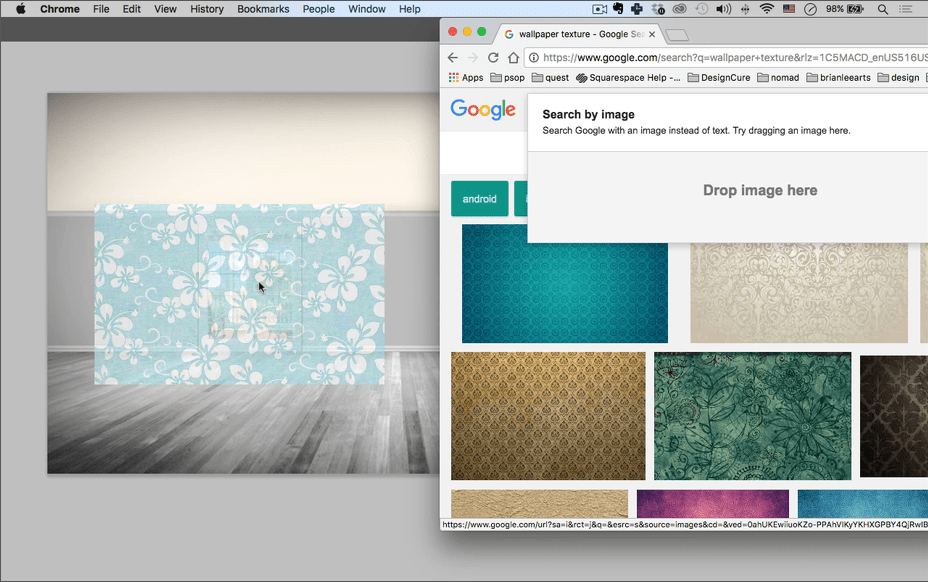
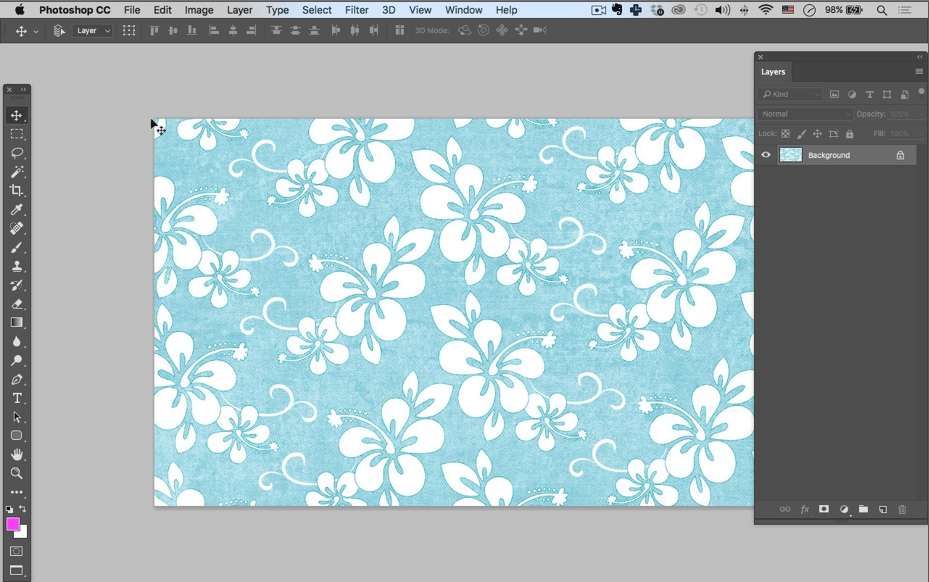
Our image should pop right into Photoshop with on a new layer.
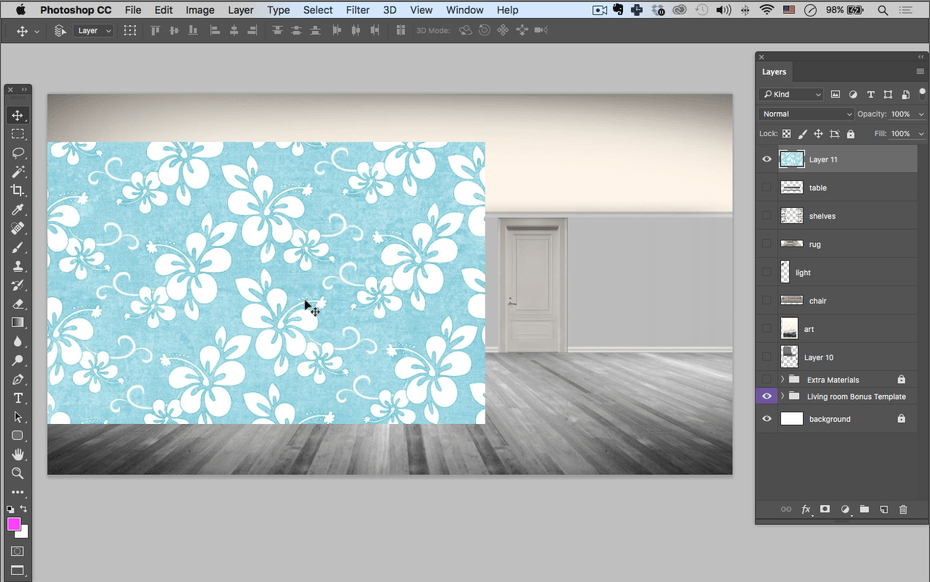
Another option, ( If you want to create a new document with the selected image) is to drag the image from the internet browser onto the Photoshop icon located in your application folder or dock.
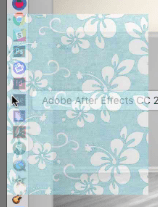
After doing this, it will be imported into its own Photoshop document (see below). This works well if you plan on manipulating the texture or piece of furniture separately. After completed, you can use the Method 1 above to send it back to your master Photoshop document.
Conclusion
Thank you for joining me for another free Photoshop tutorial on how to insert product images into design boards. I hope you now have a better understanding of how to bring in furniture, textures, and beyond when building a design board.